Admin
Who this guide is for
This guide is for users with the global Admin role. It covers everything you need from signing in to managing users, configuring models, knowledge settings, and operational visibility. Admins can also perform all Teacher tasks inside classes.
What you can do
- Everything a Teacher can do inside classes.
- Change the global role of any user.
- Send accounts to trash, restore them, and purge eligible ones.
- Configure AI models and connections.
- Configure global knowledge settings.
- Review the audit log, general branding, and system status.
Getting started
Task: sign in
Goal
Access the product with your account.
Before you start
- You need a registered email and password.
Steps
- Open the access screen.
- Enter your email.
- Enter your password.
- Confirm access.
Expected result
The system takes you to the dashboard with your Admin role options.
Limits and notes
- v1 does not require email verification.
- v1 has no password reset flow inside the product.
Task: confirm your role has changed
Goal
Verify that the Admin role is now active on your account.
Before you start
- An Admin has already told you your role was assigned or updated.
Steps
- Sign out.
- Sign in again with the same account.
- Check whether you now see the dashboard and Admin options, including the entry to Admin settings.
Expected result
Your Admin role is active and you can access the global platform configuration.
Limits and notes
- Role changes do not take effect in the current session.
- You must always sign out and sign back in.
Navigating
Task: go from the dashboard to a lesson
Goal
Open a class and reach the lesson where you want to work on content or use the chat.
Before you start
- You have an active Admin role.
- You can see the dashboard.
Steps
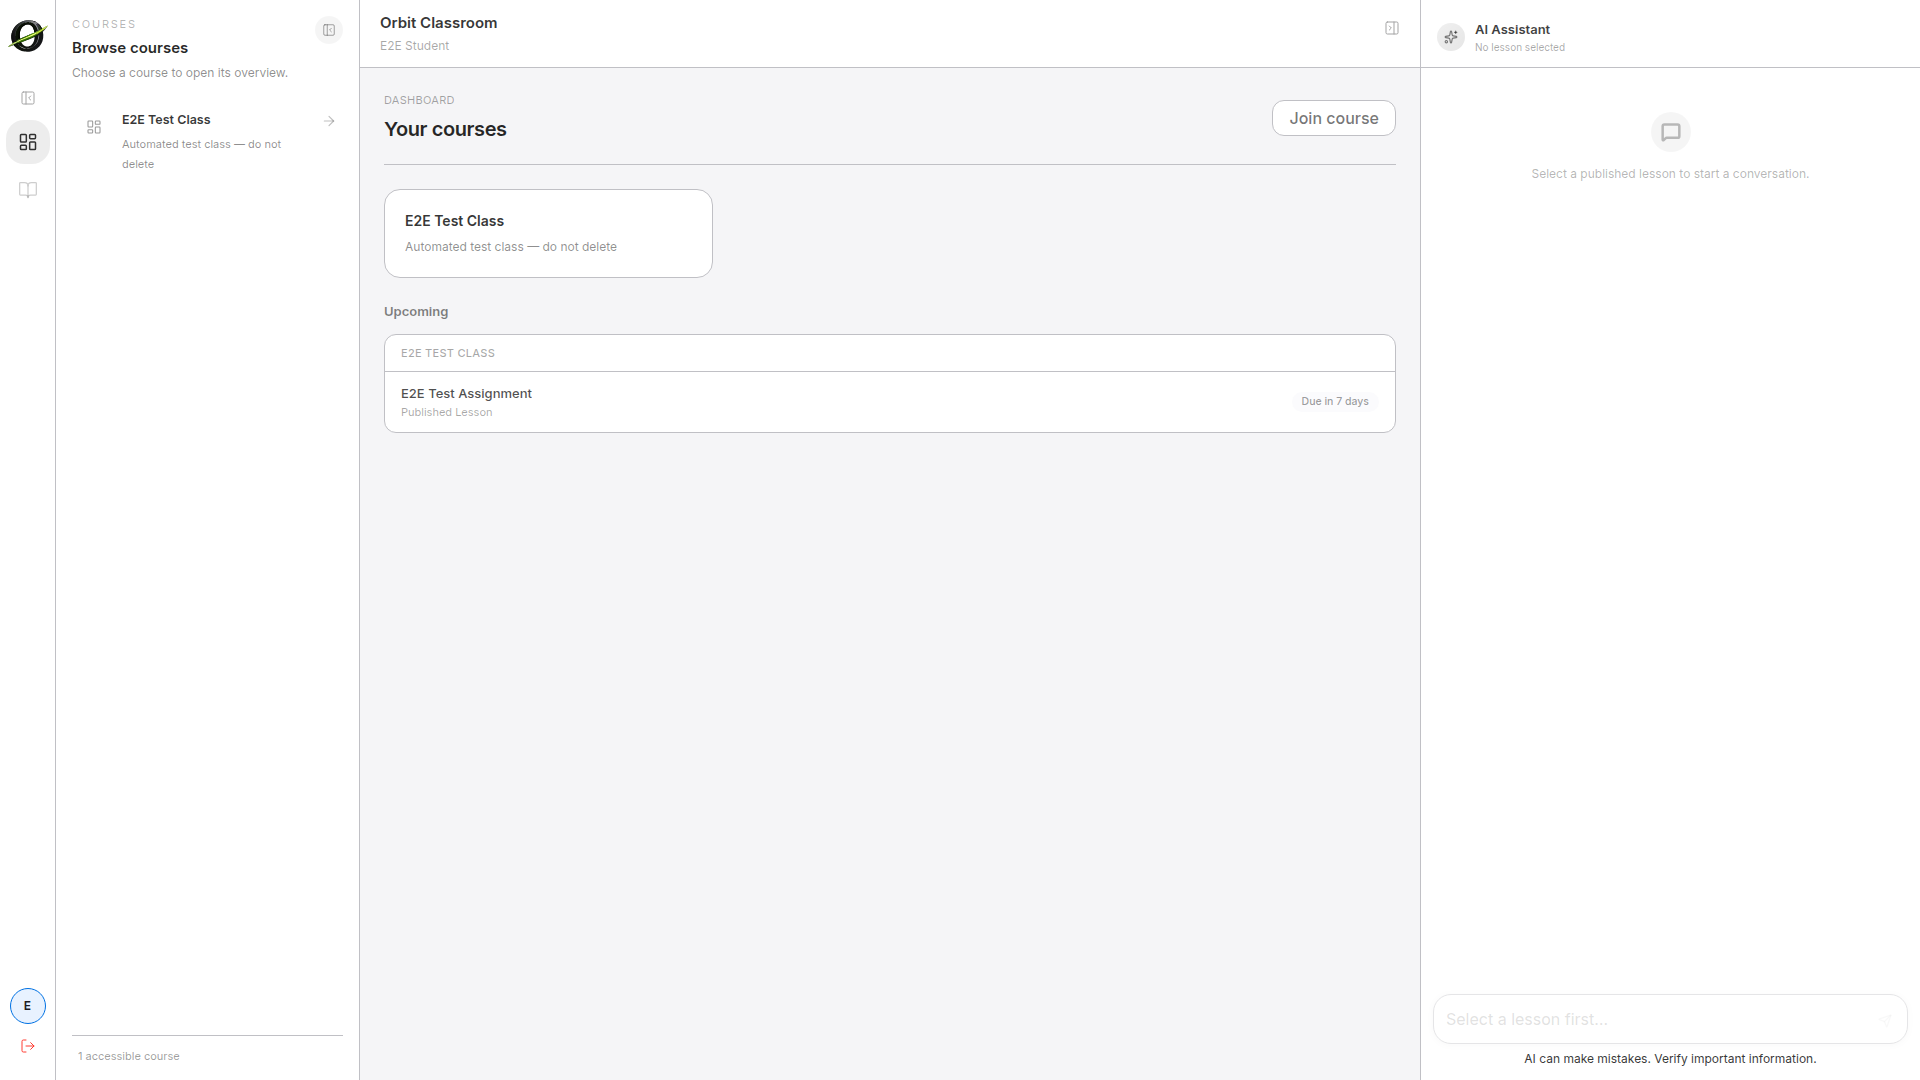
- Go to the dashboard.
- Open a class available for your account.
- In the left panel, navigate the hierarchy
Class -> Module -> Lesson. - Select the lesson you want to open.
Expected result
The class opens in its workspace and the lesson appears in the central area with its tabs, including Settings.
Limits and notes
- Only published modules and lessons appear in normal navigation.
- Class settings are accessed from the class workspace, not from the dashboard.
Task: understand when the right panel is active
Goal
Know when you can use the assistant and when you will only see an inactive state.
Before you start
- You have entered a class.
Steps
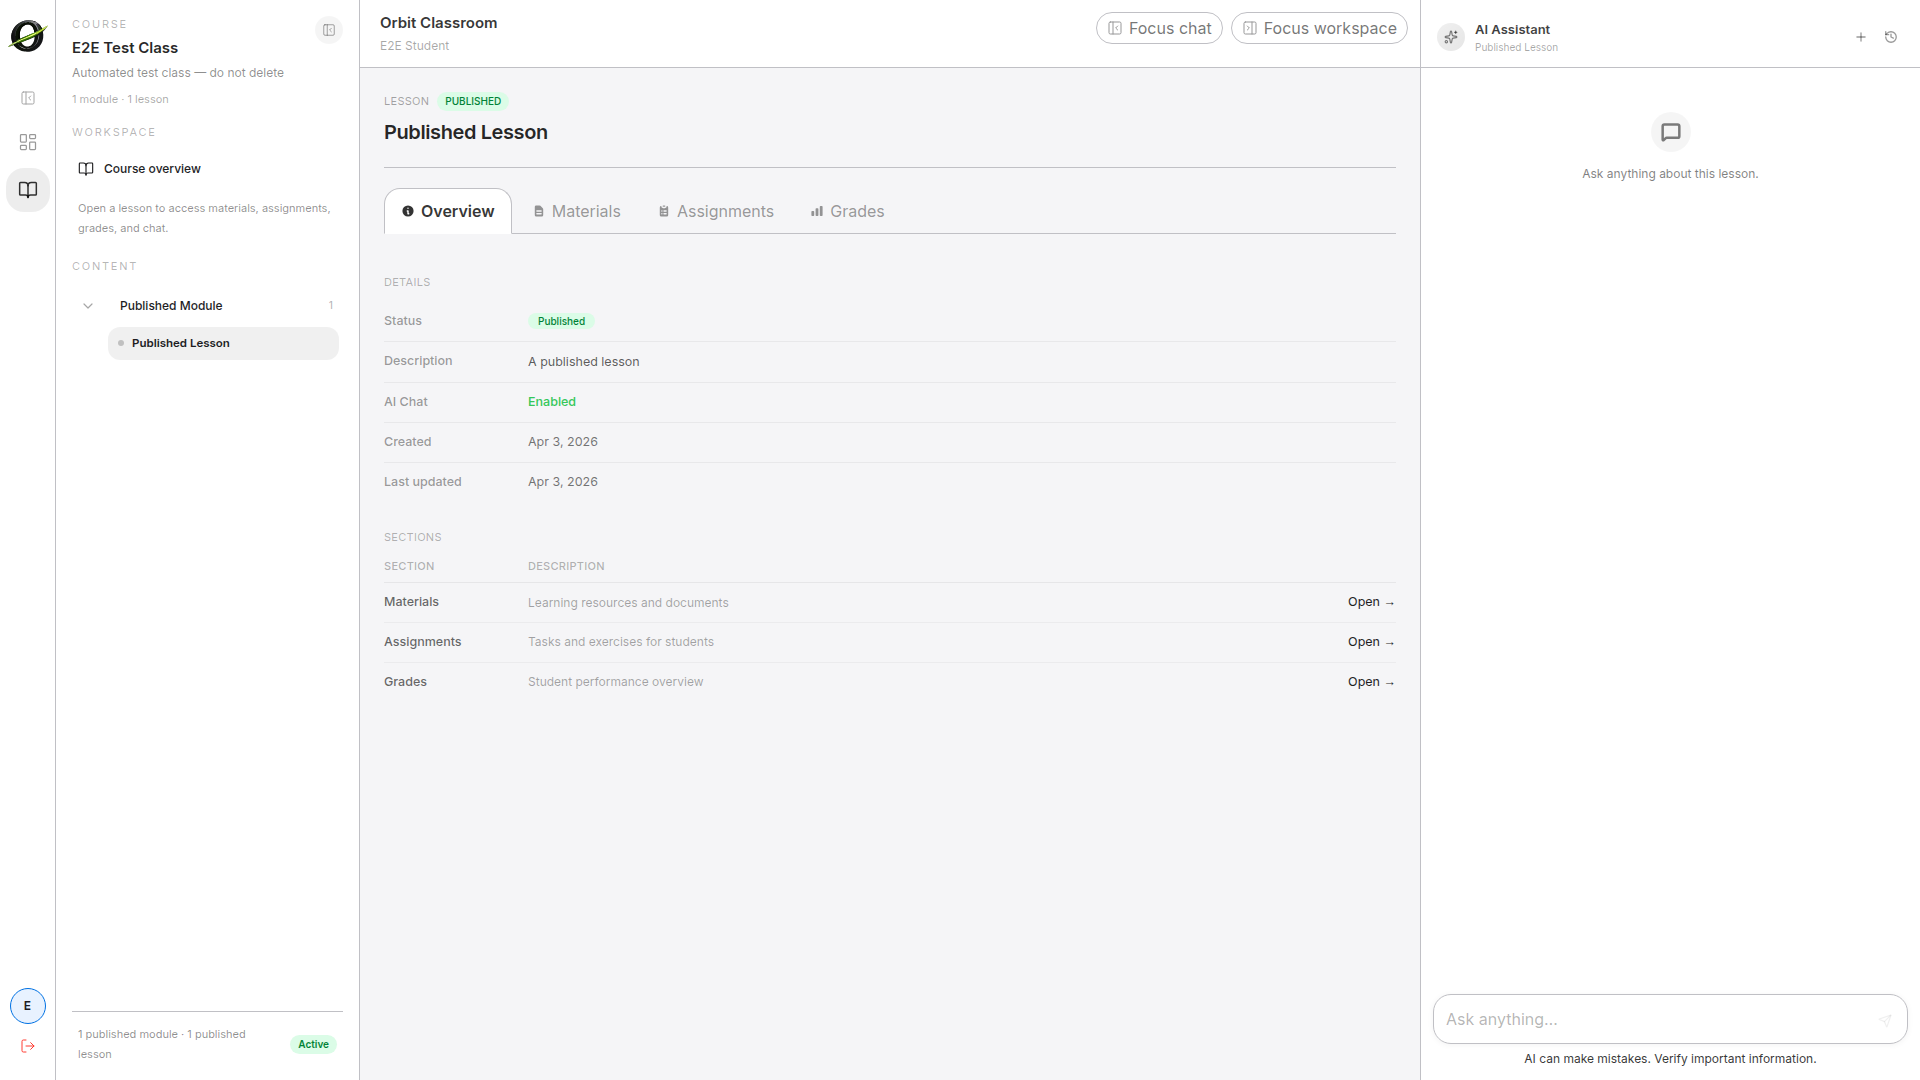
- Open a published lesson.
- Check the right panel.
- If you are not inside a published lesson, confirm the panel is disabled.
Expected result
The right panel is only interactive inside a published lesson. Outside that context, the panel is disabled.
Limits and notes
- Unpublished lessons do not allow chat, even for Admins.
- There is no free-form chat per class or personal chat outside a lesson.

Task: find drafts and class settings
Goal
Locate the editing tools that do not appear in the published navigation.
Before you start
- You have opened the class.
Steps
- Open a class.
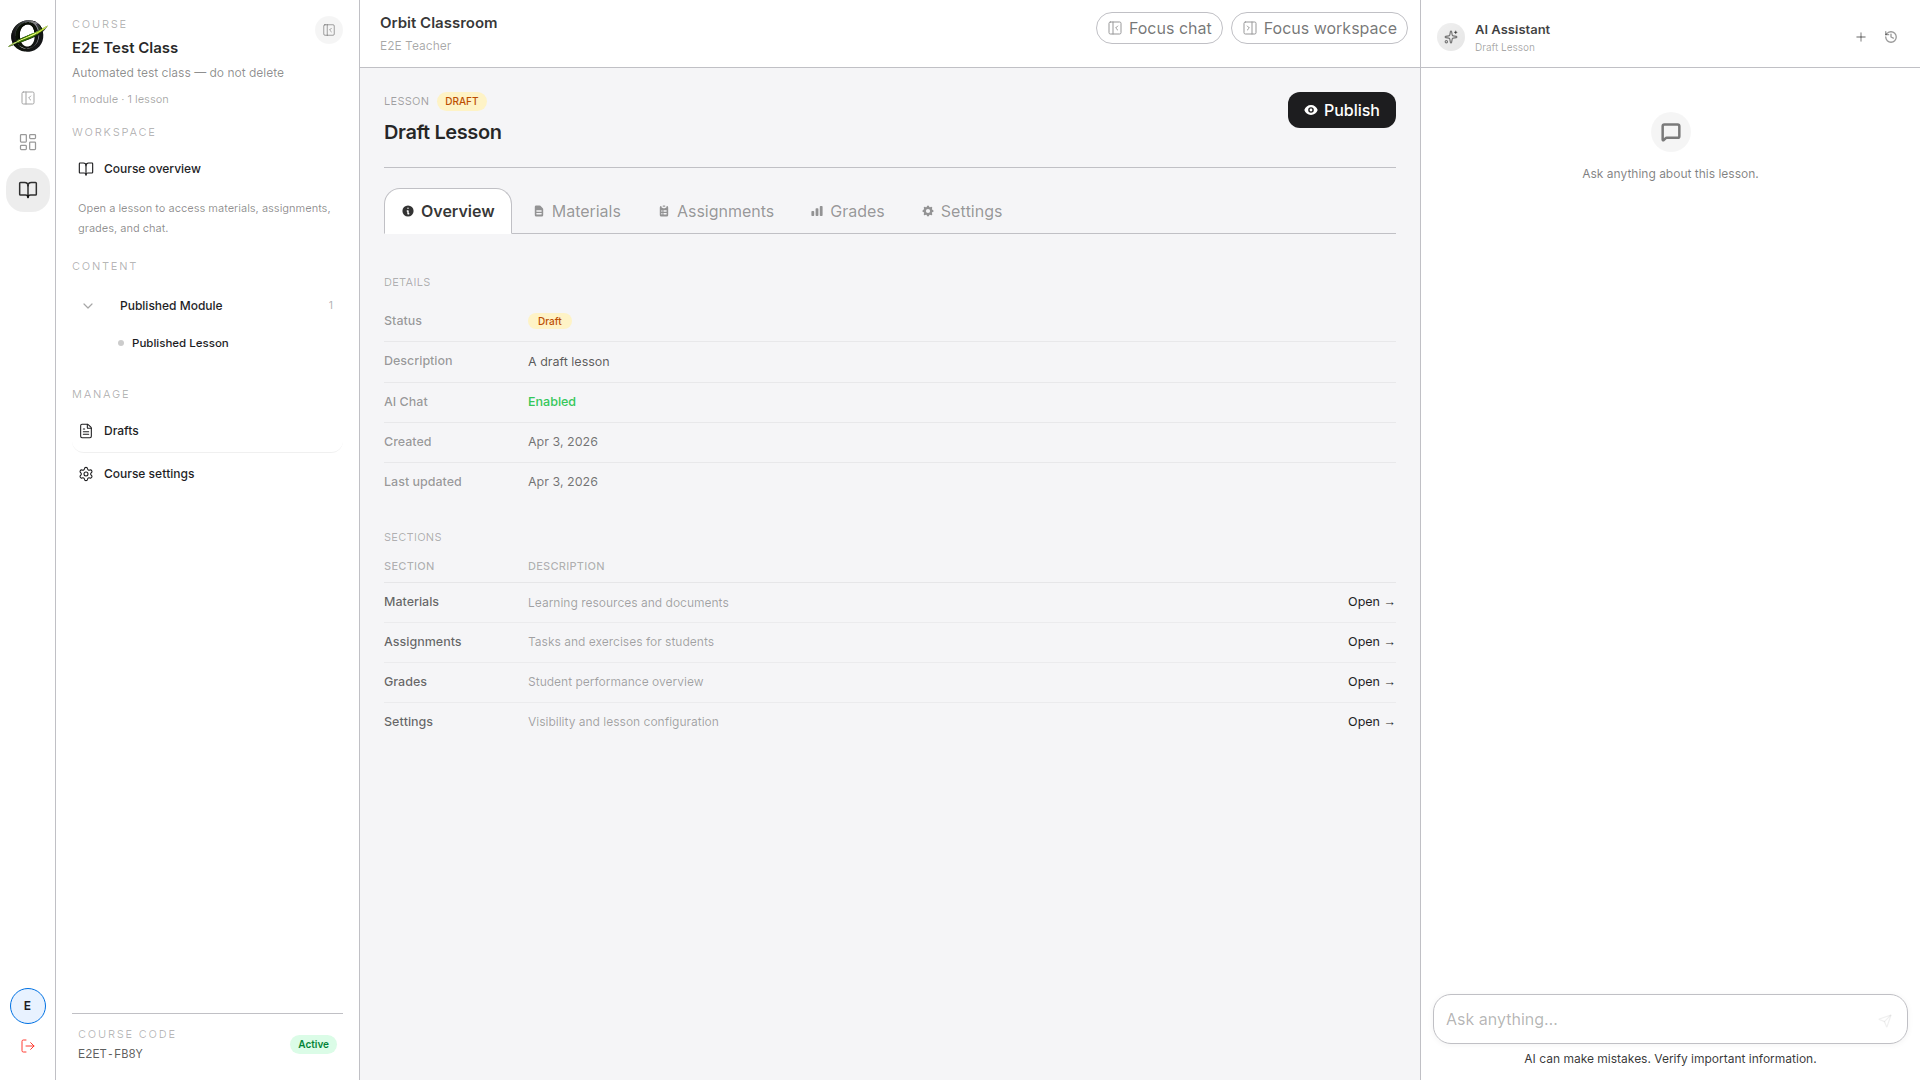
- Access
Draftsto view unpublished modules and lessons. - Open
Class Settingsfrom the class workspace when you need to manage the code, archive, or members.
Expected result
You can switch between published navigation and editing views for draft content and class configuration.
Limits and notes
- The
Draftsview only includes modules and lessons in draft state. - It does not show drafts of assignments, materials, or grades.
- An archived class is read-only for Admins.
Class management
Admins can perform all Teacher tasks inside classes. This section covers the most common ones. See the Teacher guide for more detail on any specific flow.
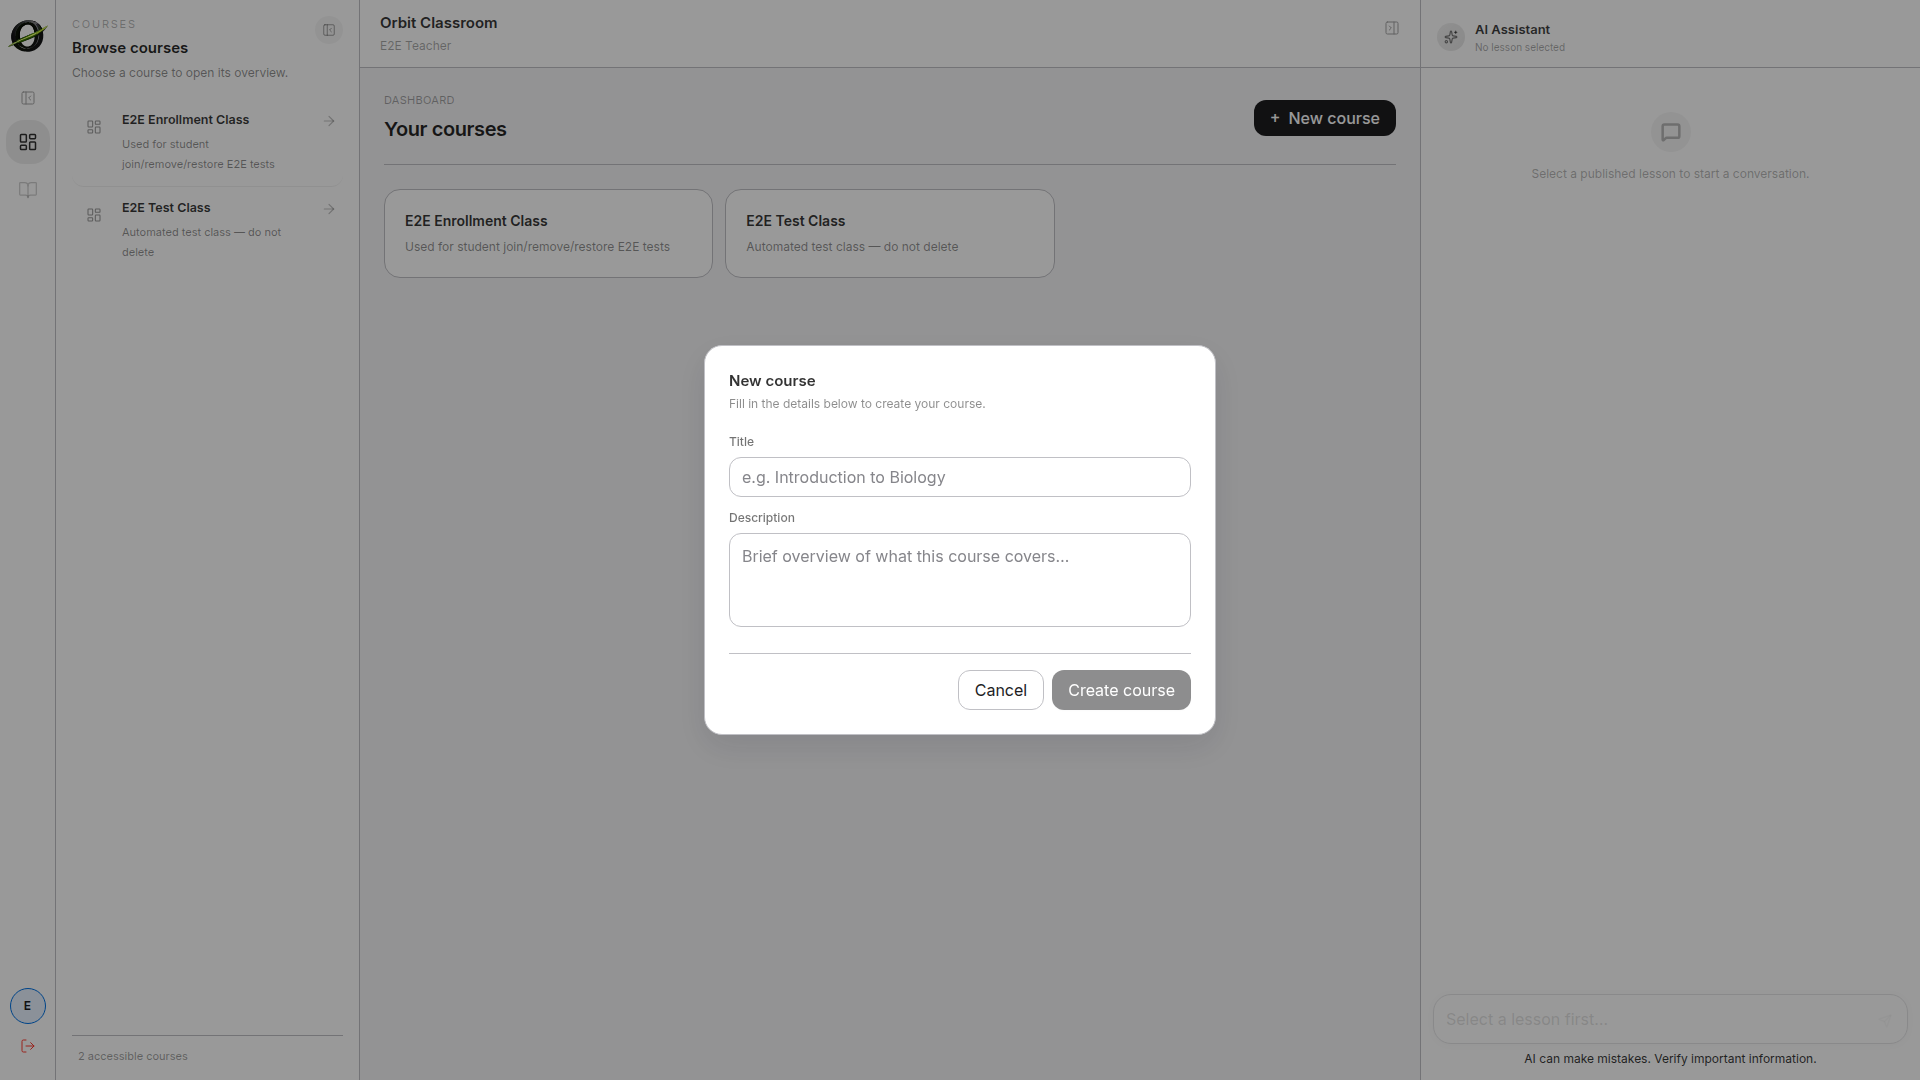
Task: create a class
Steps
- Go to the dashboard.
- Use the action to create a new class.
- Fill in at least
titleanddescription. - Confirm creation.
The class is immediately active. Configuration lives inside that class's workspace.
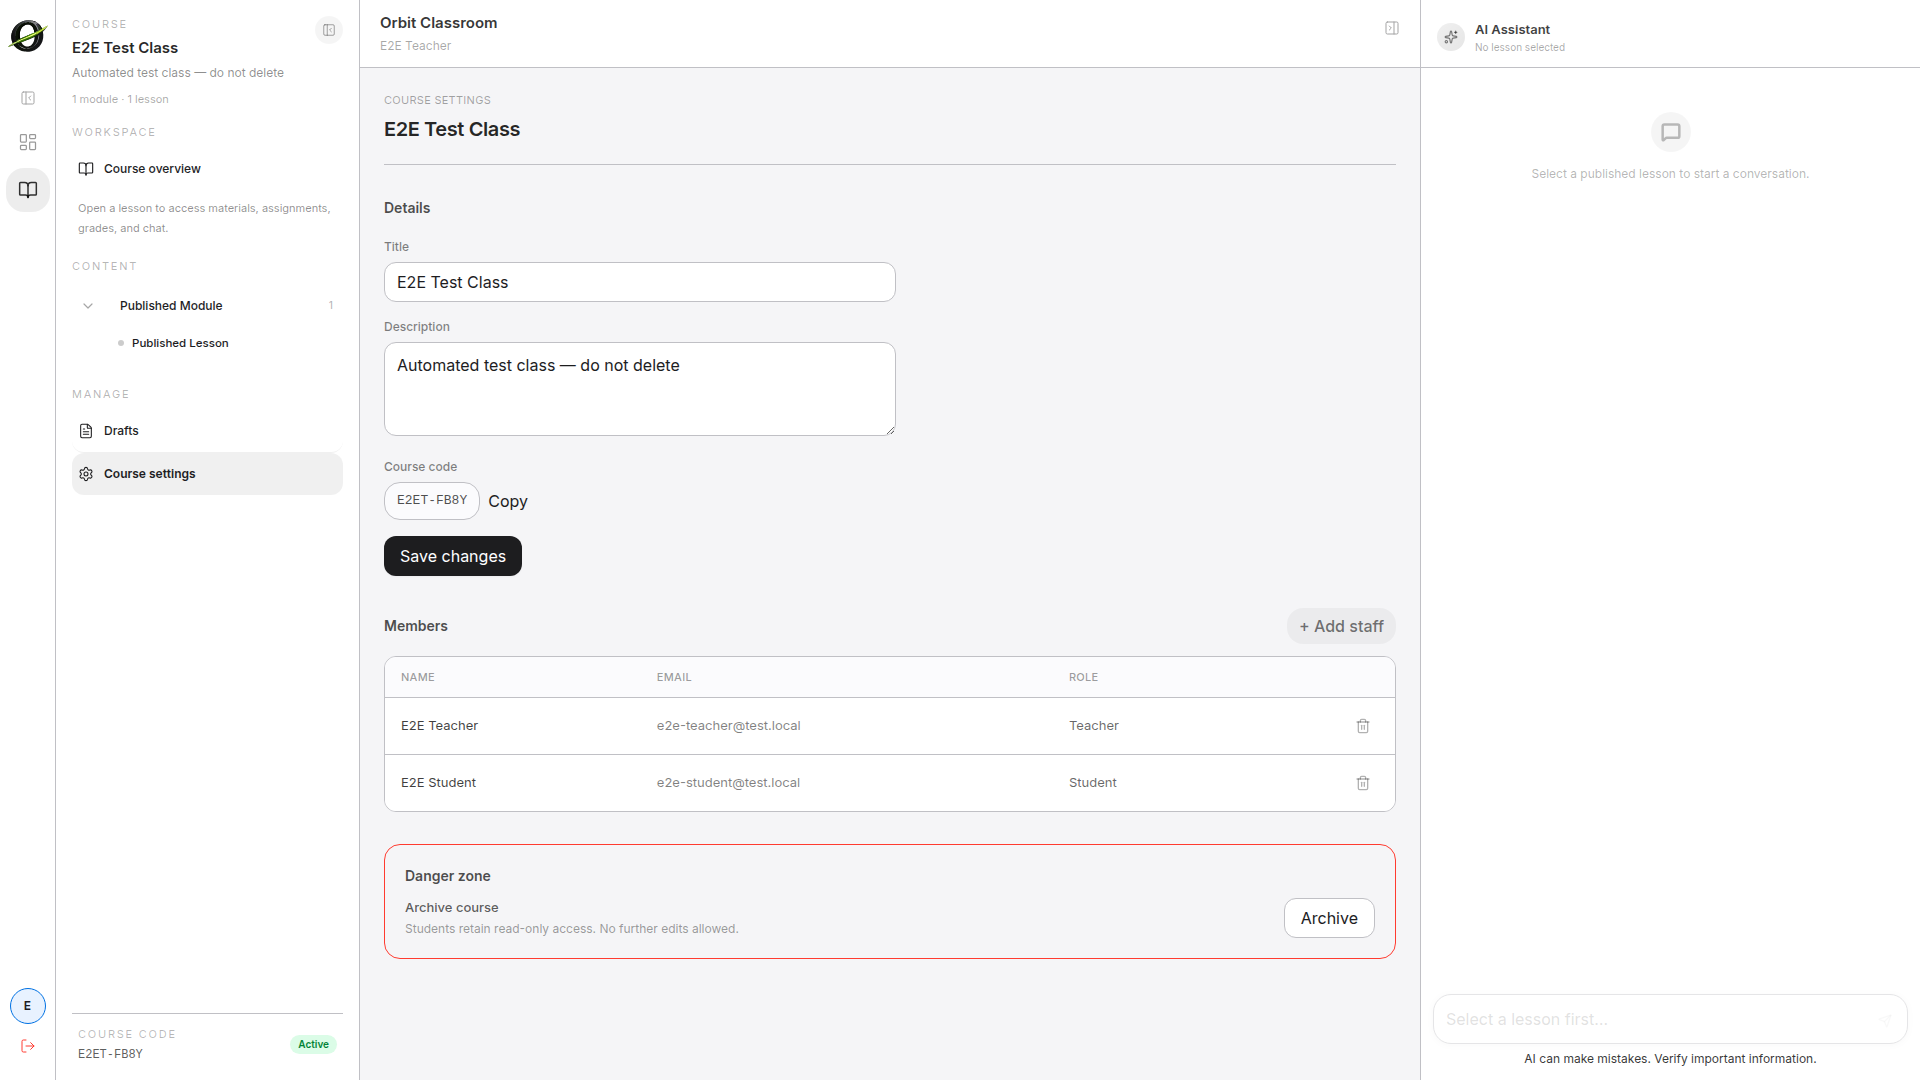
Task: manage members
Steps
- Open
Class Settingsfrom the class workspace. - Open the members table.
- Approve, reject, or remove as appropriate.
Admins can remove any member, including Teachers, unlike Teachers who cannot remove Admins.
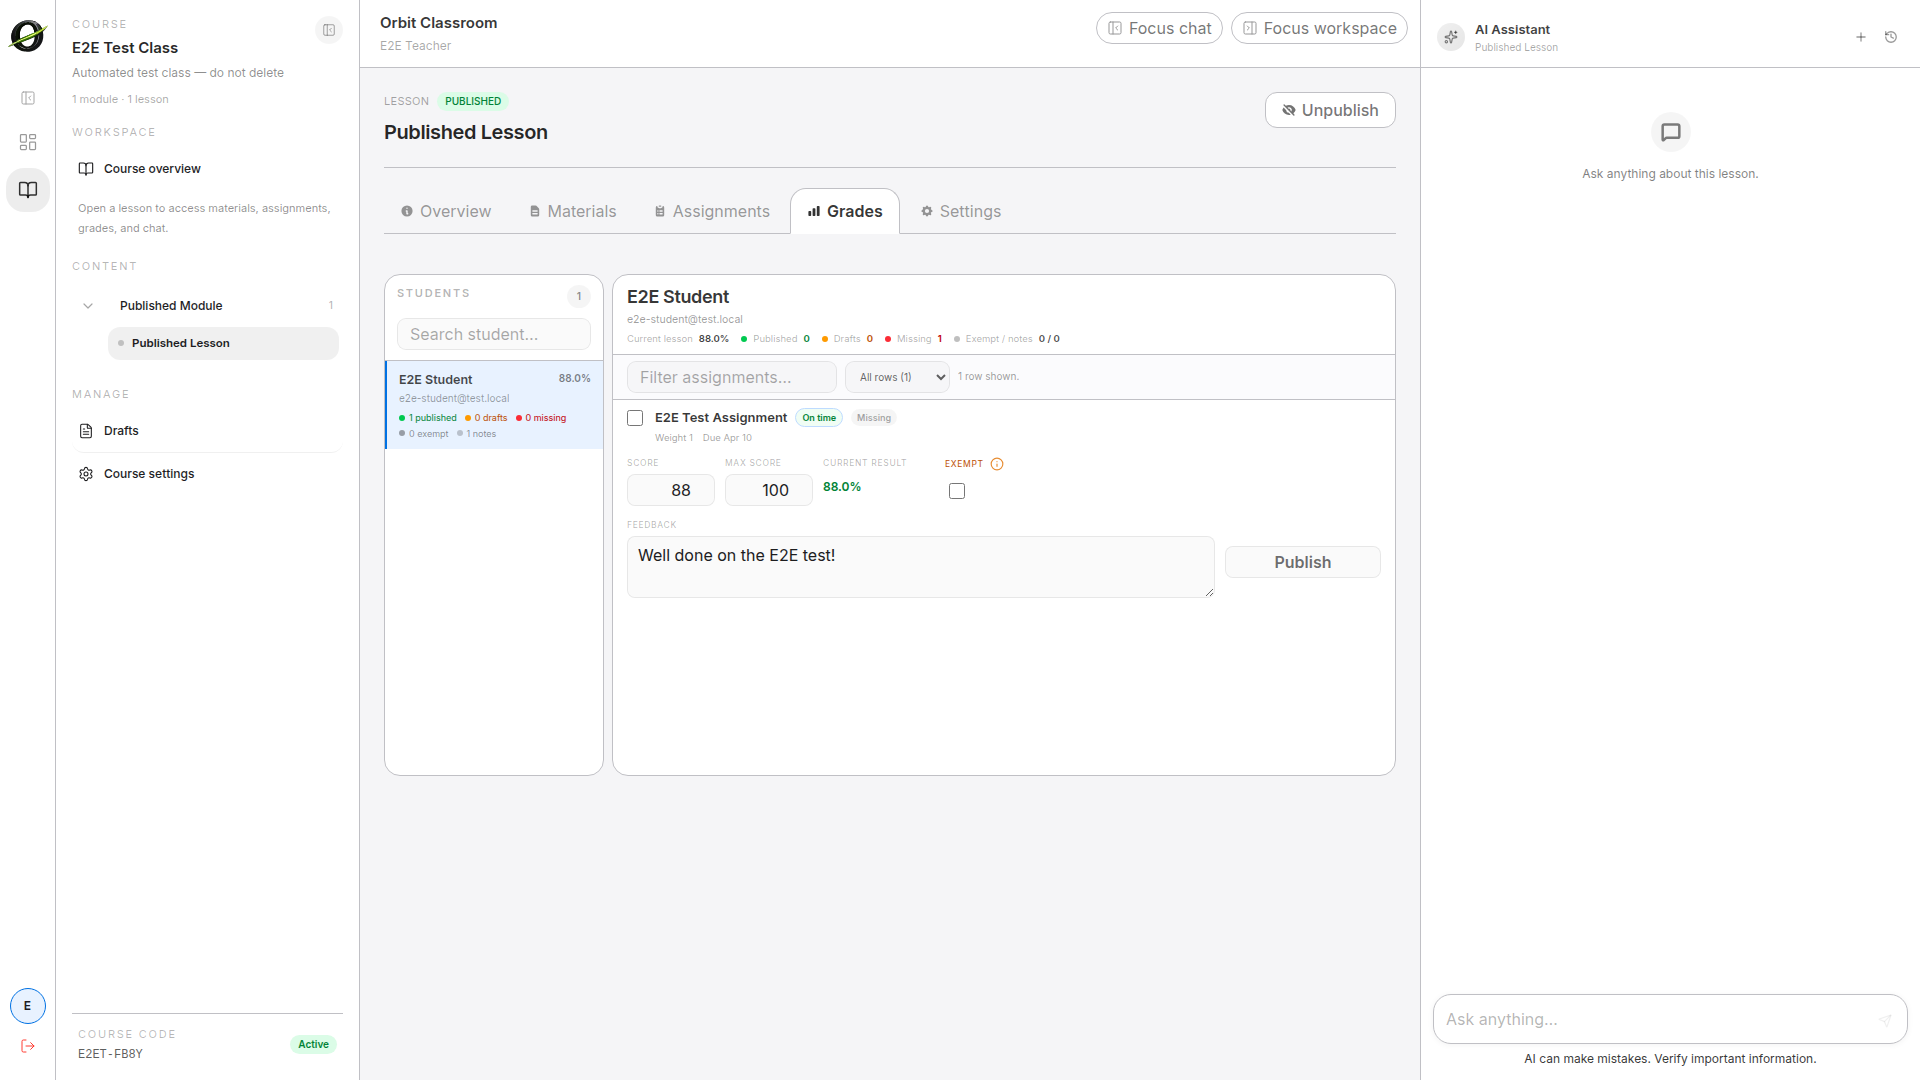
Task: grade from the Grades tab
Steps
- Open the correct lesson.
- Go to
Grades. - Select a student.
- Edit the numeric grade,
exempt, and feedback per row. - Publish or unpublish the necessary rows.
The numeric scale is 0 to 10. Autosave stores the draft automatically.
Admin settings
Task: open Admin settings and get oriented in its tabs
Goal
Access the global configuration panel and learn what sections are available.
Before you start
- You have an active Admin role.
Steps
- Open Admin settings from the dashboard or global navigation.
- Review the available tabs:
Users,Models,Knowledge Settings,Audit,System Status,General. - Navigate to the section you need.
Expected result
You can access any global configuration from this panel without leaving to a class workspace.
Limits and notes
- This panel is exclusive to Admins.
- Teachers and Students do not have access to Admin settings.

Users
Task: manage global roles
Goal
Change the global role of a user when necessary.
Before you start
- You have opened Admin settings.
Steps
- Go to the
Userstab. - Search for the user by name or email.
- Change their global role as appropriate.
Expected result
The user has their new global role saved in the platform.
Limits and notes
- The role change takes effect after the affected user signs out and signs back in.
- The system blocks any action that would leave zero active Admins.
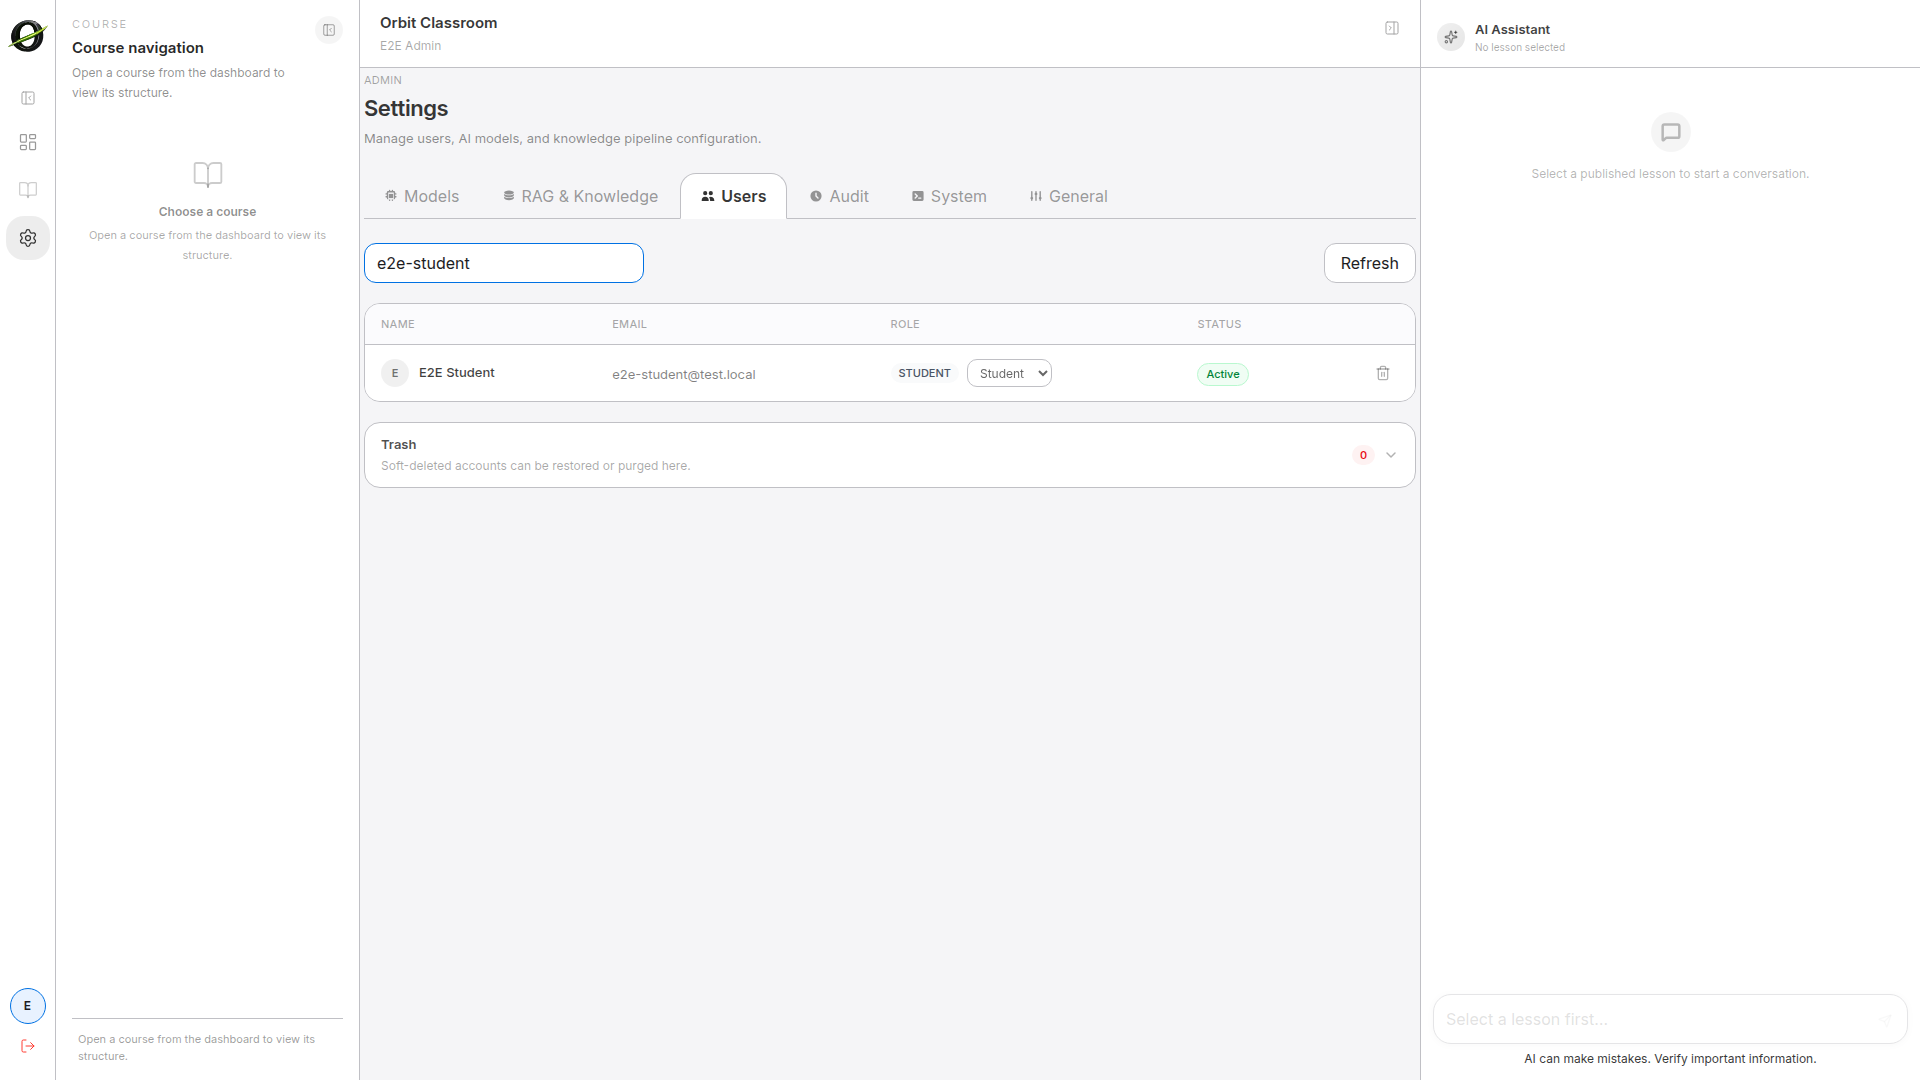
Task: remove, restore, or purge accounts
Goal
Manage the active or soft-deleted state of accounts.
Before you start
- You have opened the
Userstab.
Steps
- Find the active account you want to remove, or expand the trash section to see soft-deleted accounts.
- Use the remove action to send an account to trash.
- Use restore to bring an account back from trash.
- Use purge only when you truly need to permanently delete an eligible account.
Expected result
The account is in the expected state inside the users table.
Limits and notes
ActiveandSoft-deletedare the states visible in this tab.- Restore is immediate.
- Purge requires confirmation.
- The system blocks deletion of the last Admin.

Models
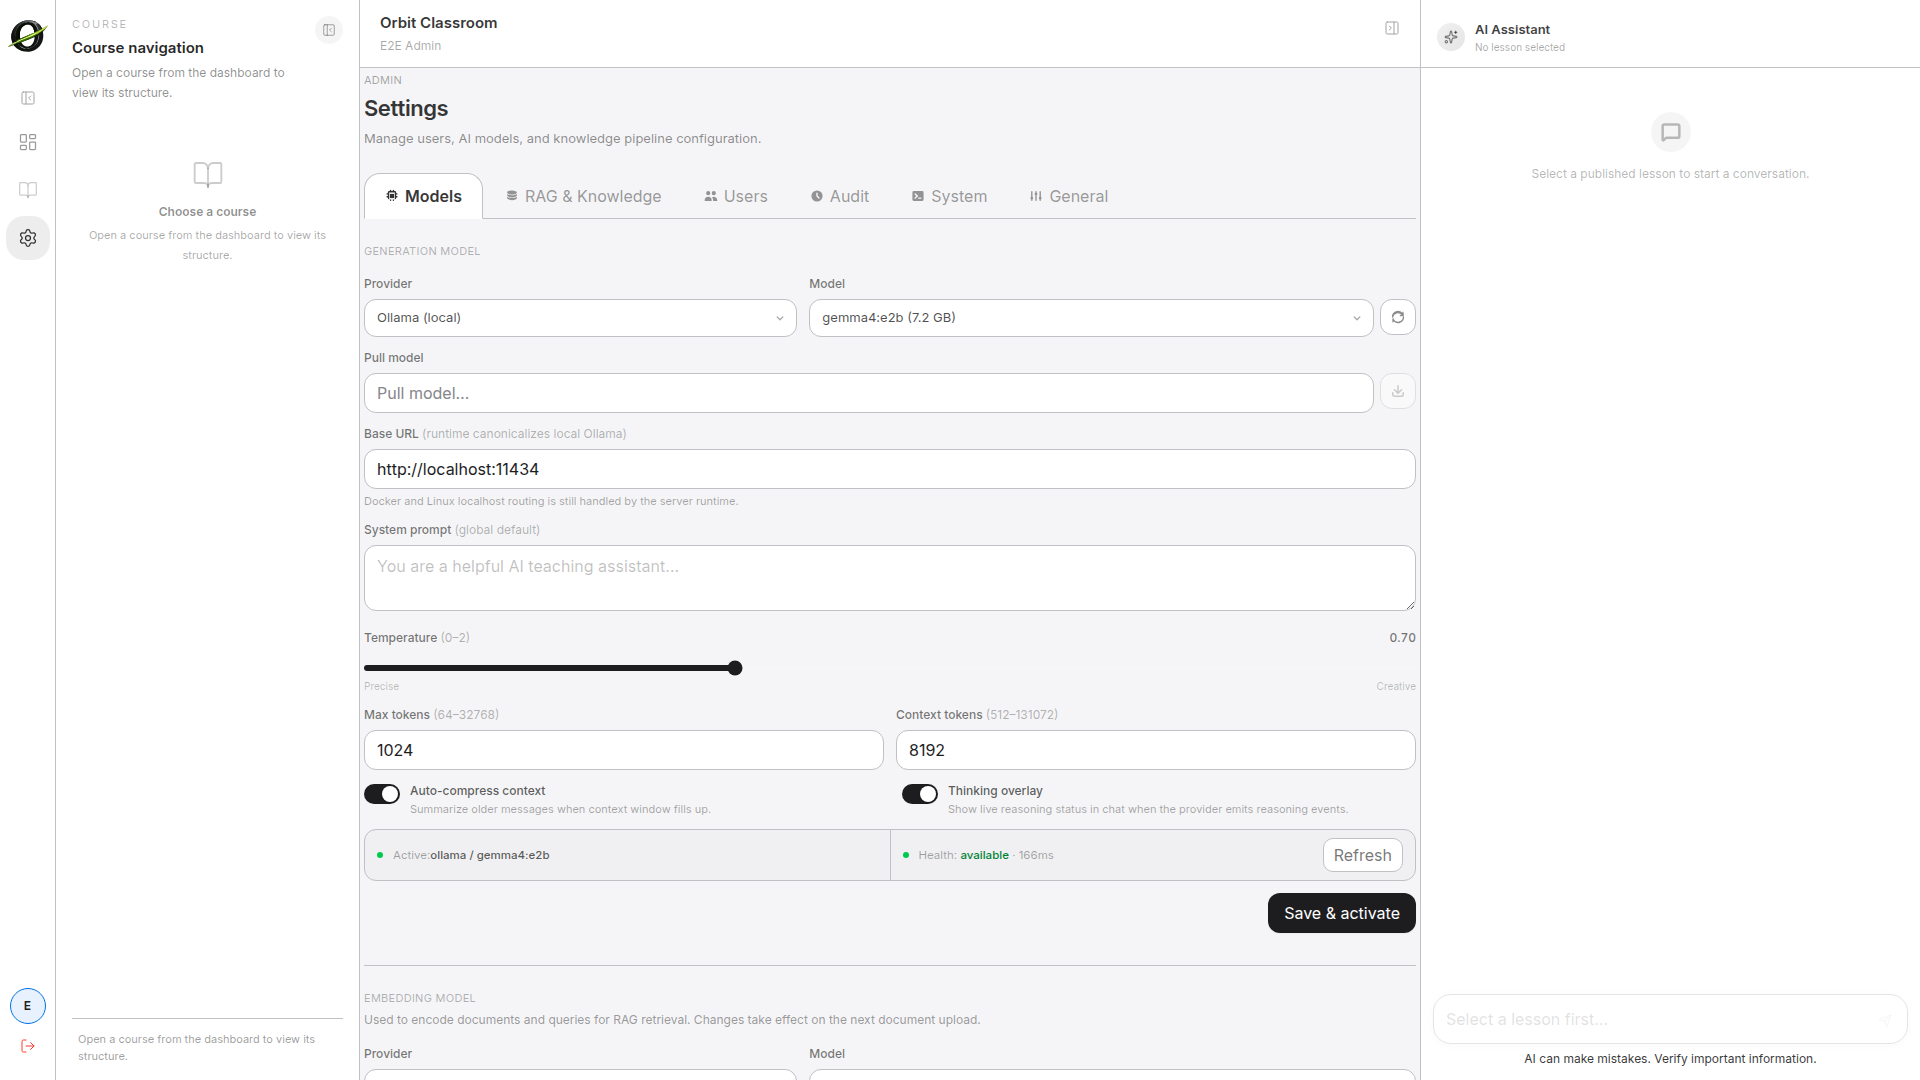
Task: configure models
Goal
Select the active global model and adjust minimal inference settings.
Before you start
- You have opened Admin settings.
Steps
- Go to
Models. - Review available backends and models.
- Configure necessary connections.
- Select the active global model.
- Adjust
temperatureandmax tokensif needed.
Expected result
The platform is pointed at the global model you want to use for new messages.
Limits and notes
- Existing chats are preserved after a model change.
- New messages use the new active model.
- Configure one provider to get started; Ollama works without an API key, while Anthropic and OpenAI require valid API keys.
- Teachers and Students cannot see the identity of the active model.
Knowledge
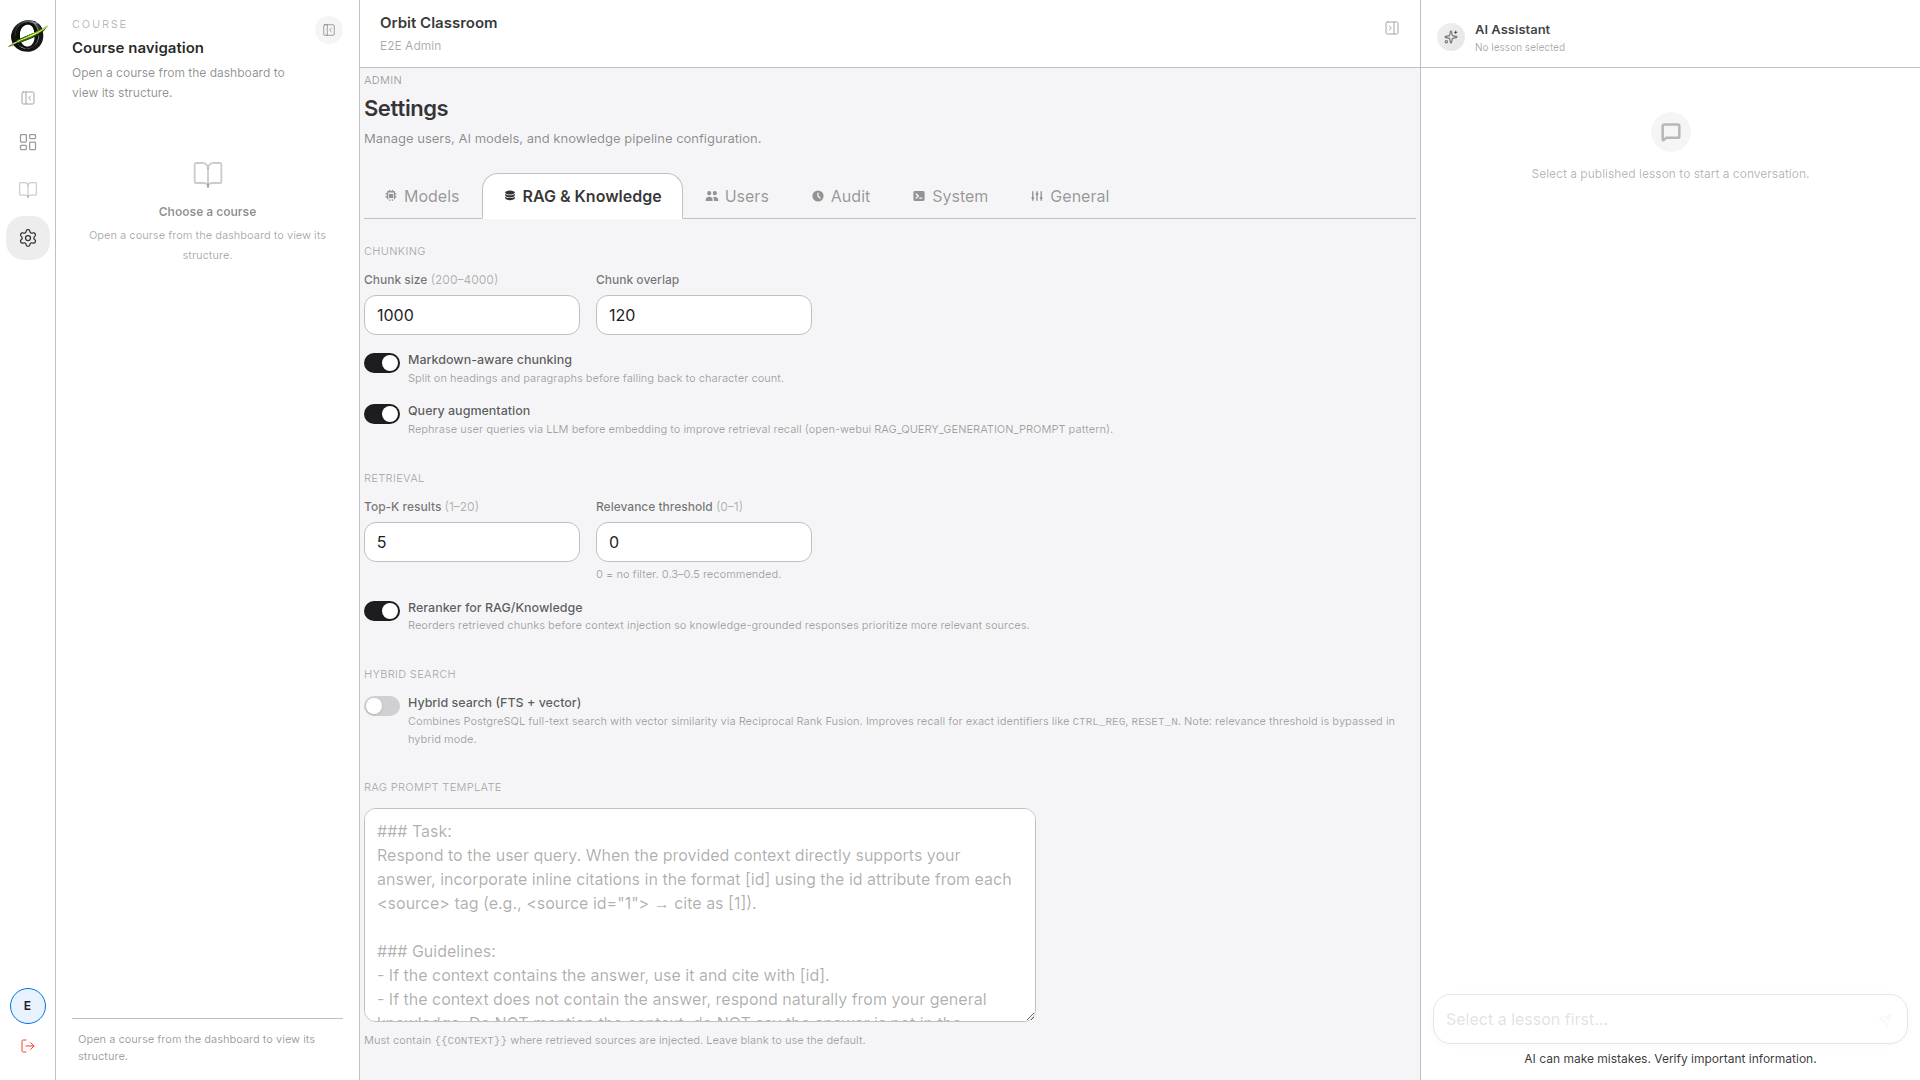
Task: configure knowledge settings
Goal
Define global retrieval and citation rules for the entire platform.
Before you start
- You have opened Admin settings.
Steps
- Go to
Knowledge Settings. - Adjust chunking.
- Select the embedding model or backend.
- Adjust retrieval limits.
- Enable or disable citation behavior.
Expected result
The platform updates its global knowledge and retrieval configuration.
Limits and notes
- Retrieval limits control the maximum number of source chunks sent to the model and the maximum number of visible citations.
- These rules are global and affect all lessons and classes.
Audit
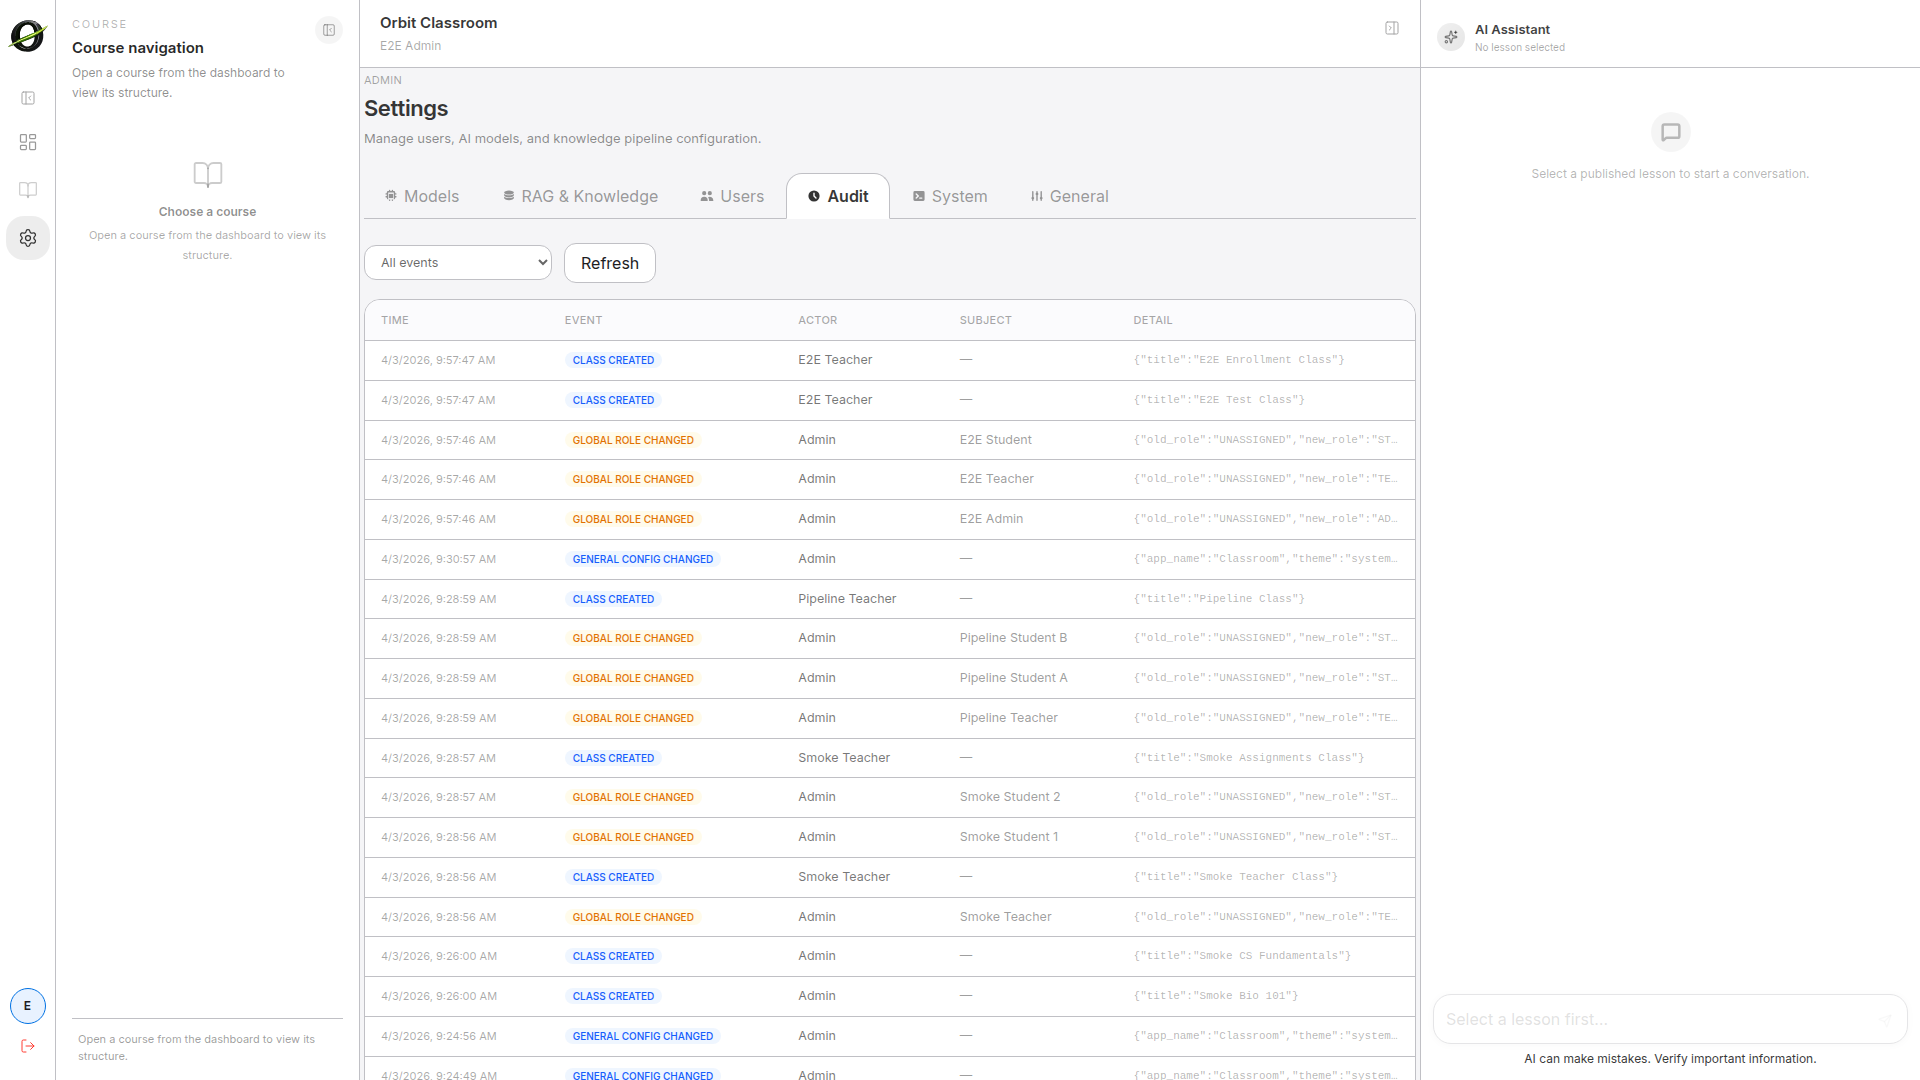
Task: review the audit log
Goal
Check relevant administrative events without leaving the Admin panel.
Before you start
- You have opened Admin settings.
Steps
- Go to
Audit. - Filter by
info,warning, orerror. - Review the events you need to investigate.
Expected result
You see only the events covered by the v1 minimal audit.
Limits and notes
- The v1 audit only covers account removals, model changes, and material processing failures.
- This view does not replace external technical monitoring.
System
Task: review system status and general settings
Goal
Check basic operational visibility and adjust branding or global theme.
Before you start
- You have opened Admin settings.
Steps
- Go to
System Statusto review RAM, CPU, GPU, and storage. - Go to
Generalto review app name, logo, and light or dark mode.
Expected result
You can review the basic operational state of the platform and adjust the general configuration available in v1.
Limits and notes
System Statusis read-only.- If GPU information is missing, the interface should degrade gracefully.
Generaldoes not make the platform multi-tenant; it only adjusts basic app configuration.

When to ask for help
- If an action is blocked, check whether it protects a minimum rule such as keeping at least one active Admin.
- When reporting a problem, share your role, the blocked action or affected class, and a screenshot of the state you see.