Quick Start Guide
This guide walks you through the core workflow from first login to your first AI-powered conversation about course materials.
First Login
- Navigate to http://localhost:5173 in your browser.
- Click Sign Up and enter an email address and password.
- Log in with your credentials. No email confirmation is required in v1.
The very first user to sign up is automatically assigned the Admin role. This user can configure platform settings and manage other users. Subsequent users receive the Student role by default.
Admin First Steps
Before anyone can chat with the AI, an Admin must configure at least one LLM provider.
Configure an LLM Model
- Click Admin in the navigation rail on the left.
- Go to the Models tab.
- In the LLM Configuration panel, choose a provider:
- Ollama — If you ran
ollama pull smollm2during setup, select Ollama and enter the model name (e.g.,smollm2). No API key is needed. - Anthropic — Enter your
ANTHROPIC_API_KEYand select a Claude model. - OpenAI — Enter your
OPENAI_API_KEYand select a GPT model.
- Ollama — If you ran
- Save the configuration.
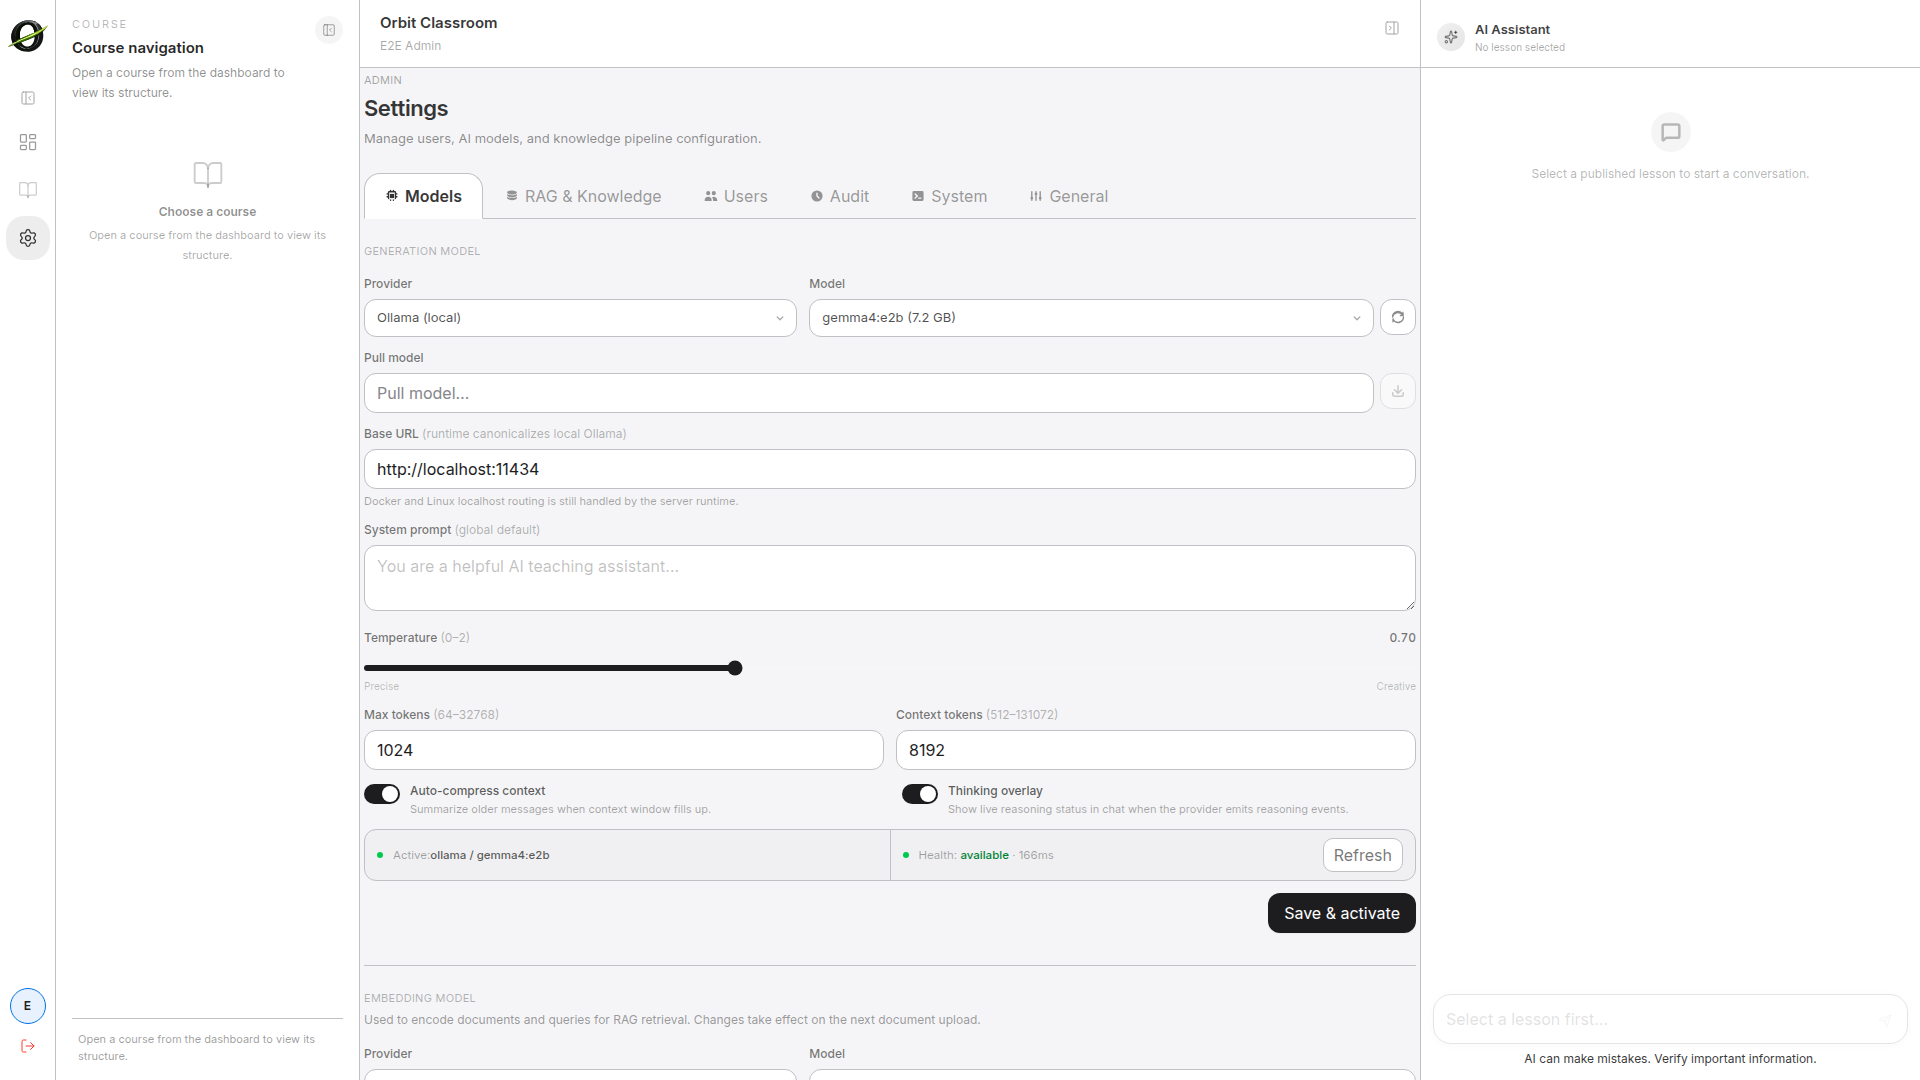
Configure Knowledge Settings
- Still in Admin, go to the Knowledge Settings tab.
- These settings control how documents are chunked, embedded, and retrieved during chat. The defaults work well for most cases.
- Adjust if needed and save.
You only need to configure one LLM provider. Ollama is the fastest way to get started without any API keys. For higher-quality responses, use Anthropic or OpenAI with a valid API key.
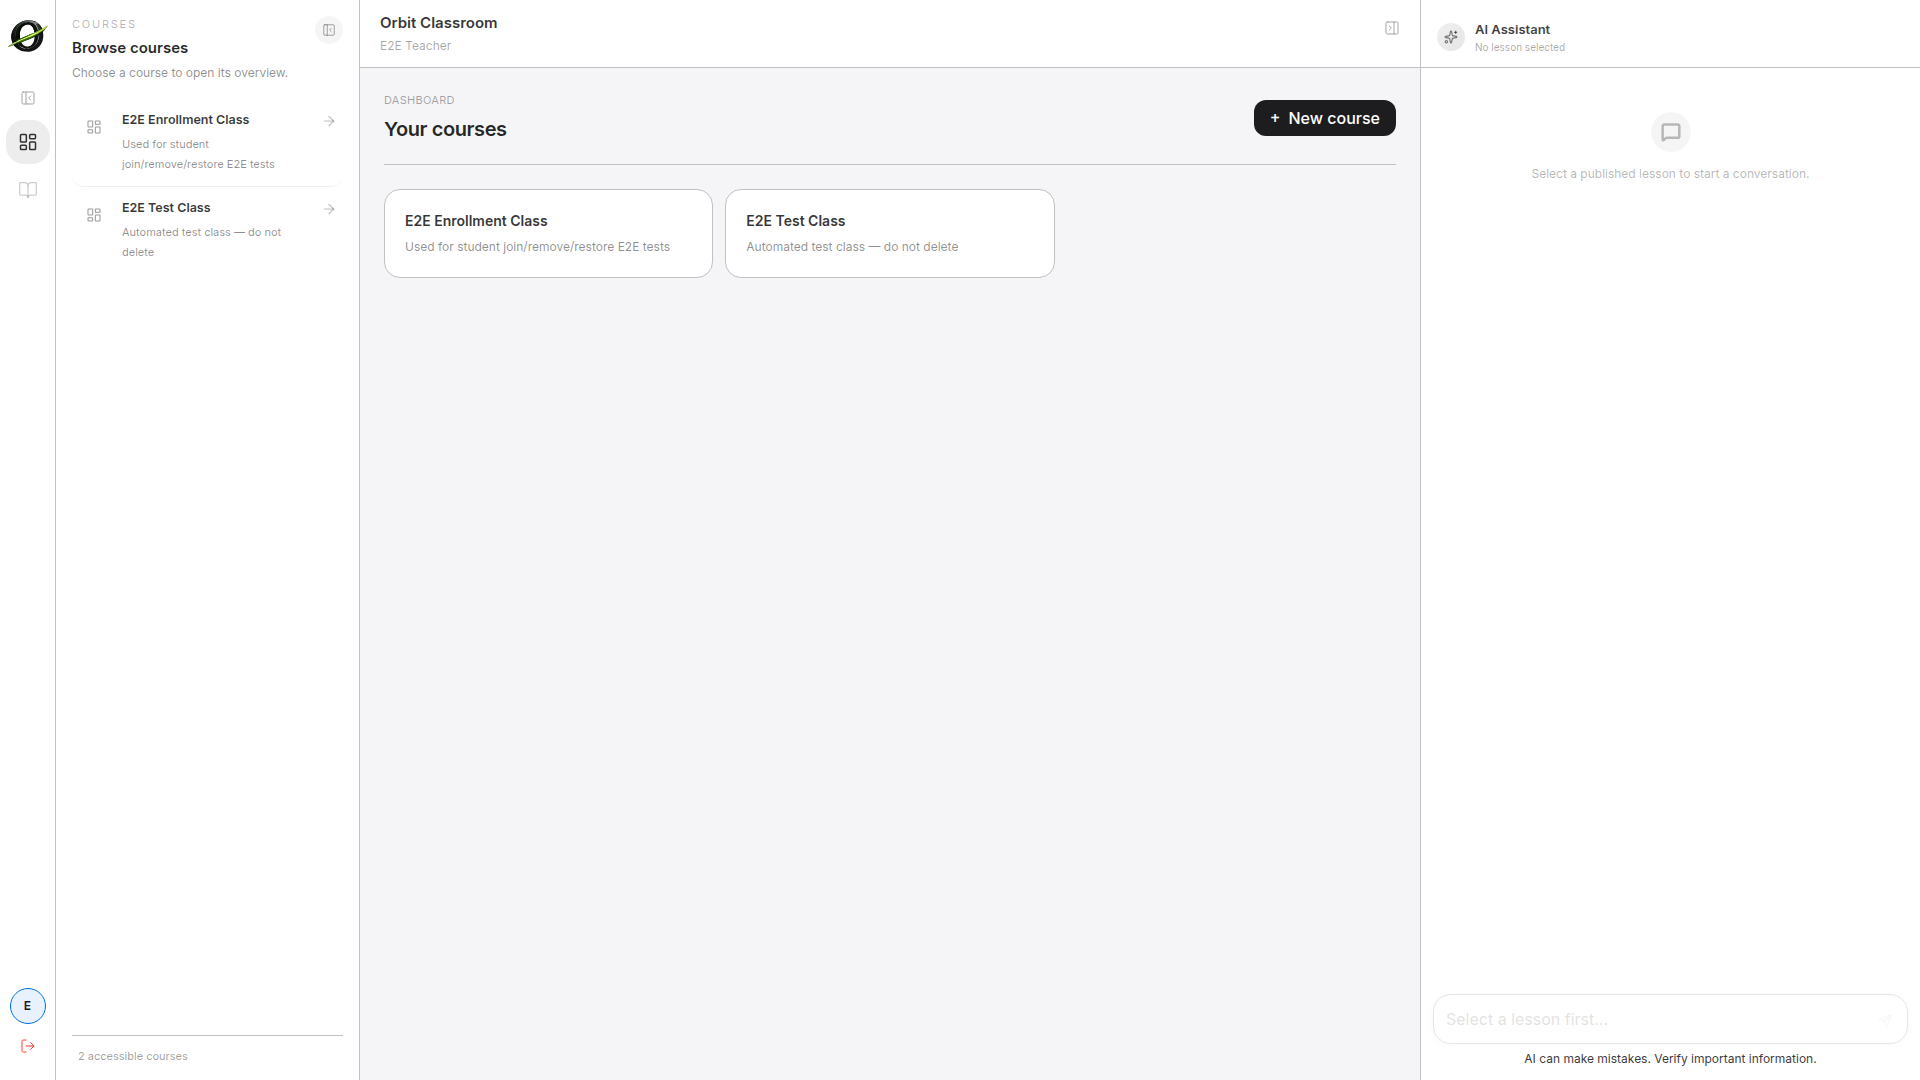
Creating Your First Class (Teacher)
Teachers create classes that contain modules, lessons, and uploaded materials. If your Admin account also has Teacher capabilities, you can do this immediately. Otherwise, an Admin can promote a user to the Teacher role.
Create a Class
- From the Dashboard, click Create Class.
- Enter a title (e.g., "Introduction to Biology") and an optional description.
- Click Create. You will be taken to the new class workspace.
After creating a class, note the class code displayed in the class settings. Share this code with students so they can join.
Create a Module
- Inside the class workspace, click Create Module in the left panel.
- Enter a module title (e.g., "Unit 1 — Cell Structure").
- Click Create.
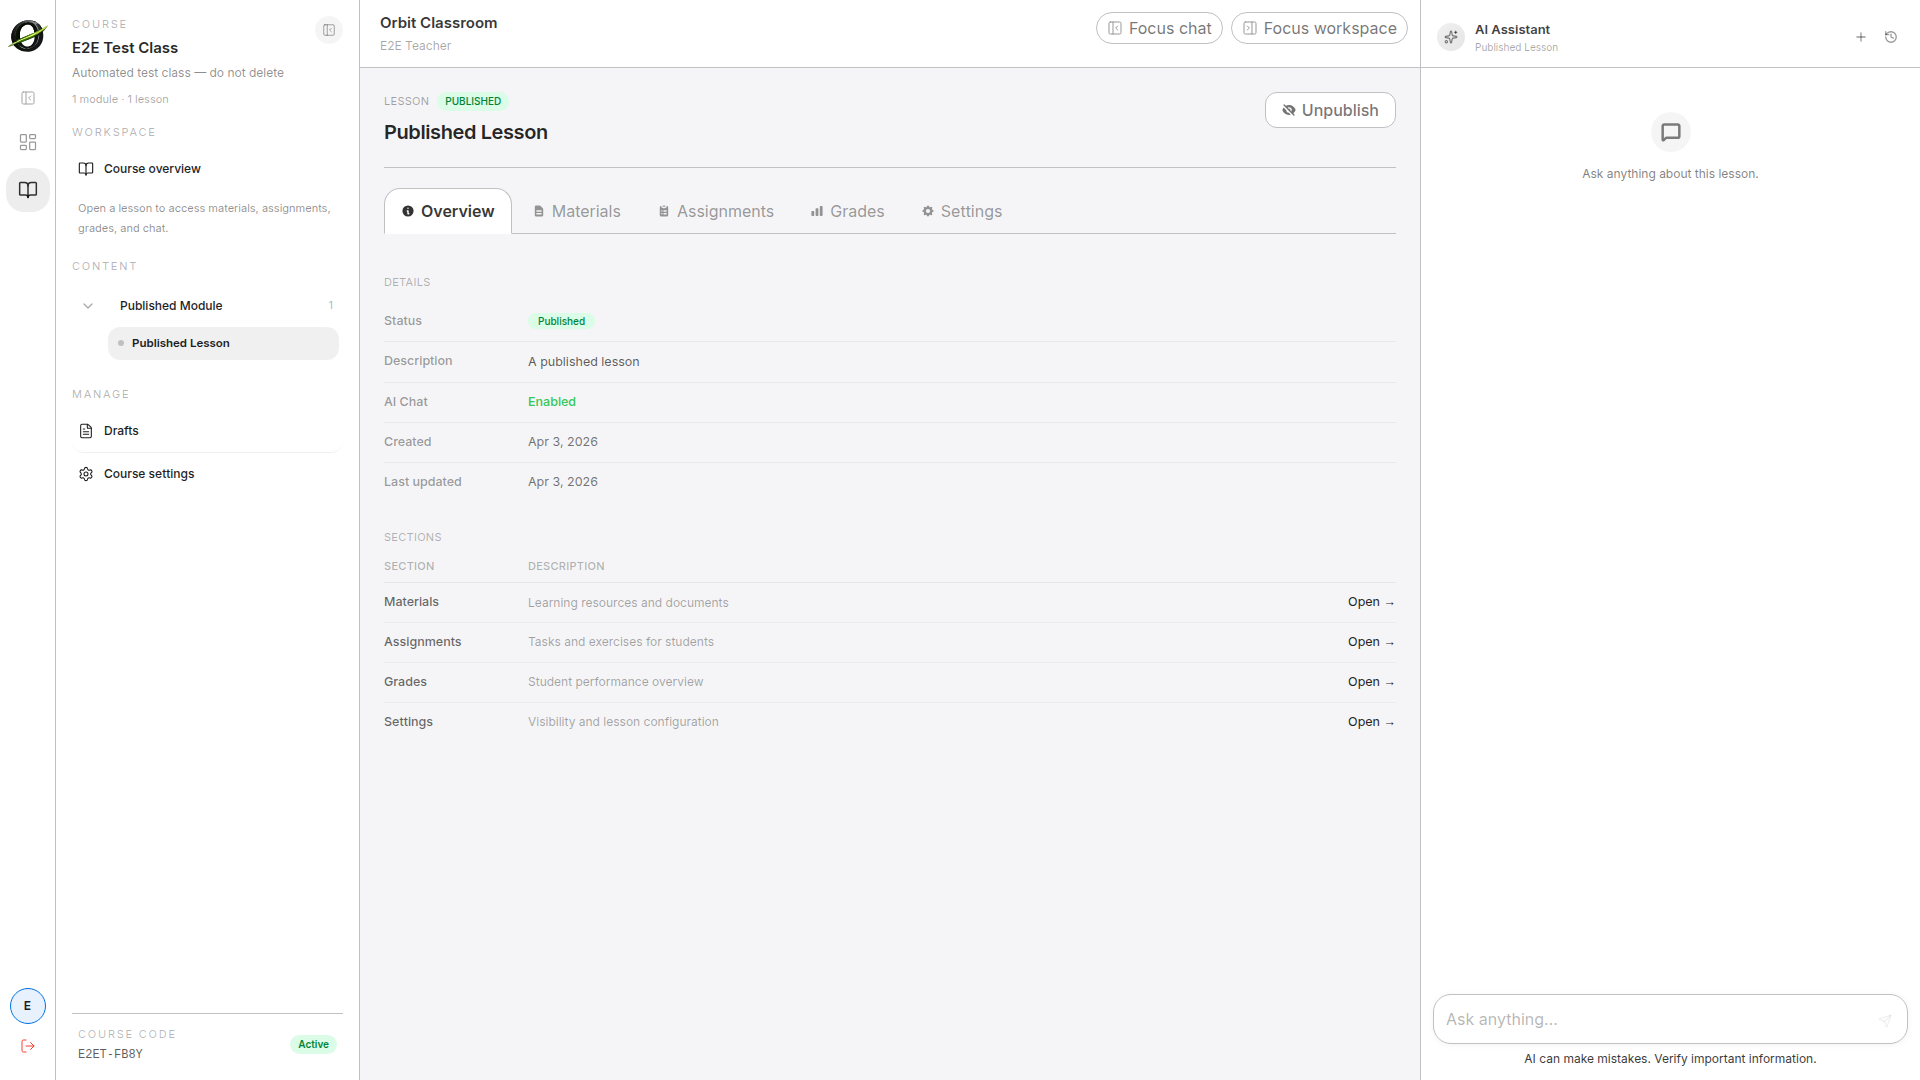
Create a Lesson
- Within the module, click Create Lesson.
- Enter a lesson title (e.g., "Lesson 1.1 — Organelles").
- Click Create.
Upload Materials
- Open the lesson you just created.
- Upload one or more files (PDFs, documents) using the upload area.
- The system will process and index the materials in the background. This may take a moment depending on file size.
- Once processing completes, the materials are available for AI-grounded chat.
Only materials attached to a published lesson are available in chat. Make sure your lesson is published before asking students to interact with it.
Joining a Class (Student)
Students join classes using a code provided by their teacher.
- Get the class code from your teacher.
- From the Dashboard, click Join Class.
- Enter the class code in the dialog and submit.
- Wait for the teacher to approve your enrollment. You will see the class appear on your dashboard once approved.
Teachers can view and approve pending enrollment requests from the class settings page. Students cannot access class content until their request is approved.
Your First Chat
Once you have a class with at least one published lesson containing uploaded materials, you are ready to chat.
- Navigate to the class from your dashboard.
- Expand a module in the left panel and click on a published lesson.
- The chat panel opens on the right side of the screen.
- Type a question about the lesson materials. For example: "What are the main functions of mitochondria?"
- The AI responds with an answer grounded in the uploaded materials, including citations pointing back to specific sections of the source documents.
The AI will only answer based on what has been uploaded to that lesson. If the materials do not cover a topic, the AI will say so rather than fabricating an answer.
Try asking follow-up questions. The chat maintains context within the conversation, so you can ask progressively more specific questions about the material.
What's Next
- Teachers — Explore how to manage class membership, organize modules, and control lesson visibility in the Features section.
- Students — Learn about navigating classes and getting the most out of AI chat in the Role Guides.
- Admins — Dive into platform configuration, user management, and LLM provider settings in the Admin Guide.